If you lose server data for any reason, then you can recover it using tools like JetBackup. It’s a great tool that allows restoring a complete server from remote backup servers. You’d be using JetBackup Disaster Recovery option in the following cases:
Here are the steps involved in enabling the disaster recovery mode:
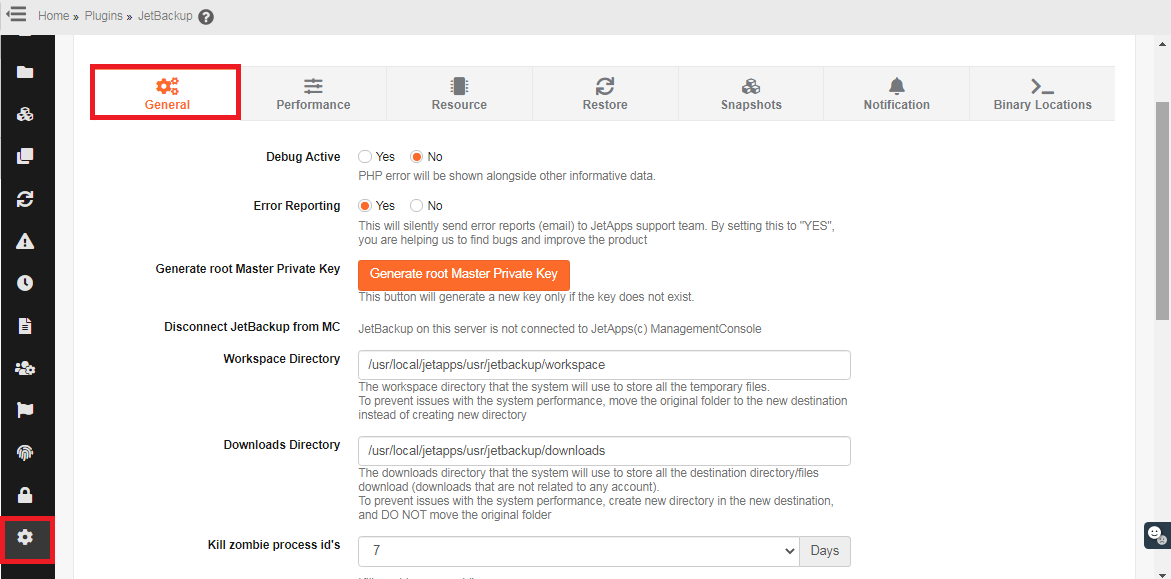
First, you need to disable the option to delete orphaned backups. This will prevent the orphaned backups from getting deleted automatically so you can later restore them. Navigate into WHM >> JetBackup >> Settings >> General Settings. Then look for the ‘Days to keep orphan backups’ to 0.
Add a new destination for backups. This should be similar or same as the old one since JetBackup has to read and index backups on remote server. For this, navigate into WHM >> Jetbackup >> Backup Manager >> Backup Destinations. Here, you’d have to set all the options under ‘Choose Indexing Type’ menu to enable.
Now, you have to create a new backup job (index only). Once created, point it to the new backup destination. Make sure that backup folder location is configured correctly. For backup folder path, you have to look for the path on the backup server. Let’s say the previous backup job was configured to save files to this path on the remote server - ‘home/user1/jetbackup/daily’. You need to put ‘daily’ as the value for ‘Remote folder on destination*’ option for the current backup job
Reindex all backups and clear the indexing cache using this command -
Once the indexing is completed go to disaster recovery at Restore Manager >> Jetbackup >> Disaster Recovery
Here, you’ll see the list of orphaned backups. Restore the accounts by clicking on the ‘Add to restore queue’ option
After the restoration process is done, you set the orphaned backup deletion option back to the number that was previously set. The orphaned backups will get deleted at the set time.
- You’re running on a JetBackup server and have the backups saved on a different server
- The source server is now corrupted and you’ve lost all data
- There’s a working backup saved on destination server
- Create a new server that resembles the old one
- Install cPanel
- Complete security hardening
- Transfer the JetPack license to the main IP address of the new server
- Install the JetPack on your new server
- Configure it using disaster recovery option
Here are the steps involved in enabling the disaster recovery mode:
First, you need to disable the option to delete orphaned backups. This will prevent the orphaned backups from getting deleted automatically so you can later restore them. Navigate into WHM >> JetBackup >> Settings >> General Settings. Then look for the ‘Days to keep orphan backups’ to 0.
Add a new destination for backups. This should be similar or same as the old one since JetBackup has to read and index backups on remote server. For this, navigate into WHM >> Jetbackup >> Backup Manager >> Backup Destinations. Here, you’d have to set all the options under ‘Choose Indexing Type’ menu to enable.
Now, you have to create a new backup job (index only). Once created, point it to the new backup destination. Make sure that backup folder location is configured correctly. For backup folder path, you have to look for the path on the backup server. Let’s say the previous backup job was configured to save files to this path on the remote server - ‘home/user1/jetbackup/daily’. You need to put ‘daily’ as the value for ‘Remote folder on destination*’ option for the current backup job
Reindex all backups and clear the indexing cache using this command -
Code:
jetcli backup -vfR clearcacheHere, you’ll see the list of orphaned backups. Restore the accounts by clicking on the ‘Add to restore queue’ option
After the restoration process is done, you set the orphaned backup deletion option back to the number that was previously set. The orphaned backups will get deleted at the set time.