You should always have security components installed on your WordPress website to make it safer. There are myriad of ways in which the websites can get hacked. In this article, learn how you can use the Wordfence plugin to safeguard your WP website against hacking attempts.
Install the Plugin
Wordfence is a WordPress security plugin. And just like any other categories of plugins, you need to install it to start using it.
With that said, install Wordfence on your WordPress website. Here are the steps to follow:
Configure
Once the plugin is installed, you need to configure it. So open the plugin from the dashboard. Here are some things you need to do:
Next, you need to manage firewall. So from the left hand side options, click on “Firewall” and then “Manage Firewall.”
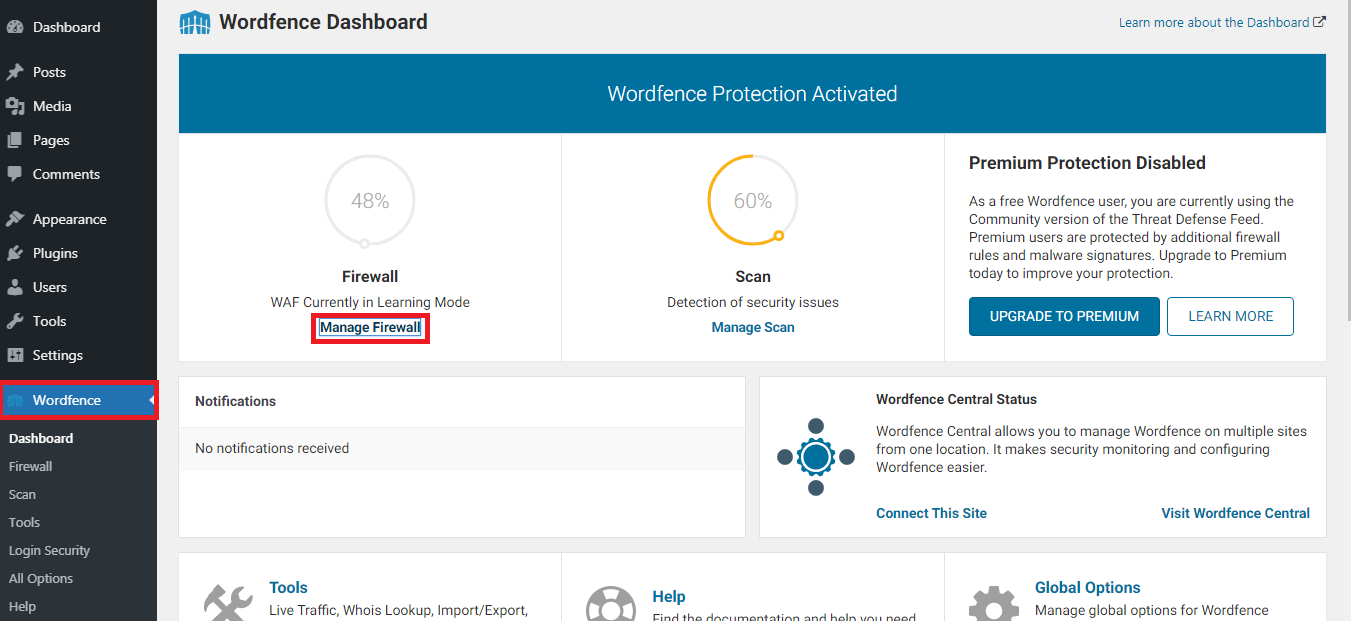
Here you’re going to find options to configure variety of options like brute force protection, login rules, strength of the password, etc.
You can leave them as they are since they tend to be fairly secure. But make changes are per your needs.
Running Your First Wordfence Scan
Now it’s time to run a scan using the plugin you just installed. For this, click on the “Scan” option and then “Start New Scan.”
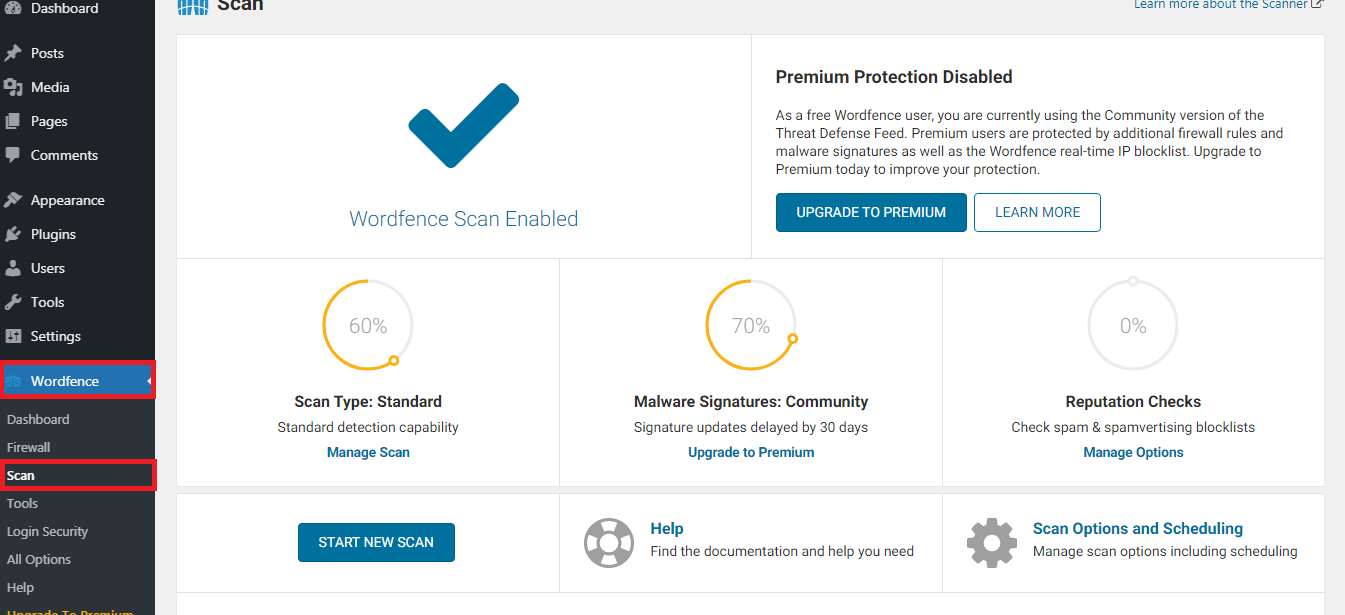
Once the scan is complete, you can see the results at the bottom of the page. If there are malware, DNS changes, and vulnerability, it will be listed down here. You can find more about each issue by clicking on the “Details” option.
Make sure you regularly run these scans to find and fix vulnerabilities and keep hackers at bay. By upgrading to premium package will give even better protection to your WordPress website. These include spam checks and real-time IP filtering.
So that’s how you install and start using Wordfence. If you face any problems, contact the hosting provider for assistance.
Install the Plugin
Wordfence is a WordPress security plugin. And just like any other categories of plugins, you need to install it to start using it.
With that said, install Wordfence on your WordPress website. Here are the steps to follow:
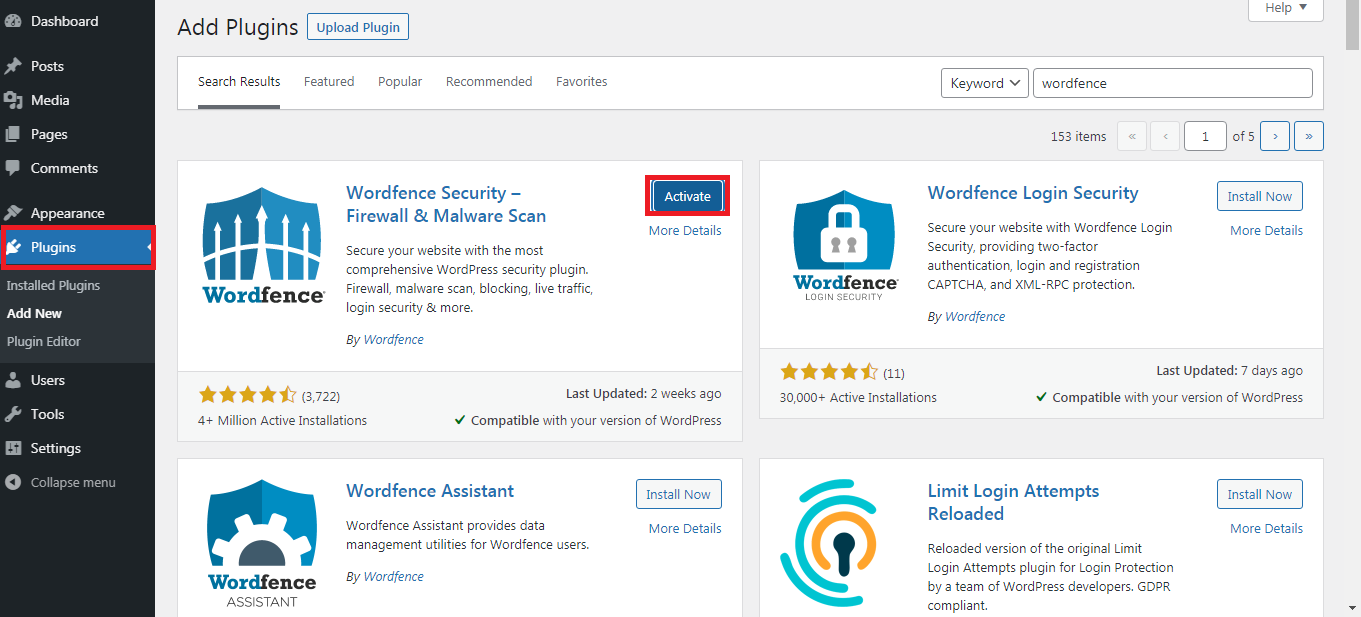
- Log in to your WordPress dashboard
- Click on Plugins >> Add New
- Search for “Wordfence” and wait for the results. You should see a plugin that reads “Wordfence Security - Firewall & Malware Scan”
- Click on the “Install Now” button
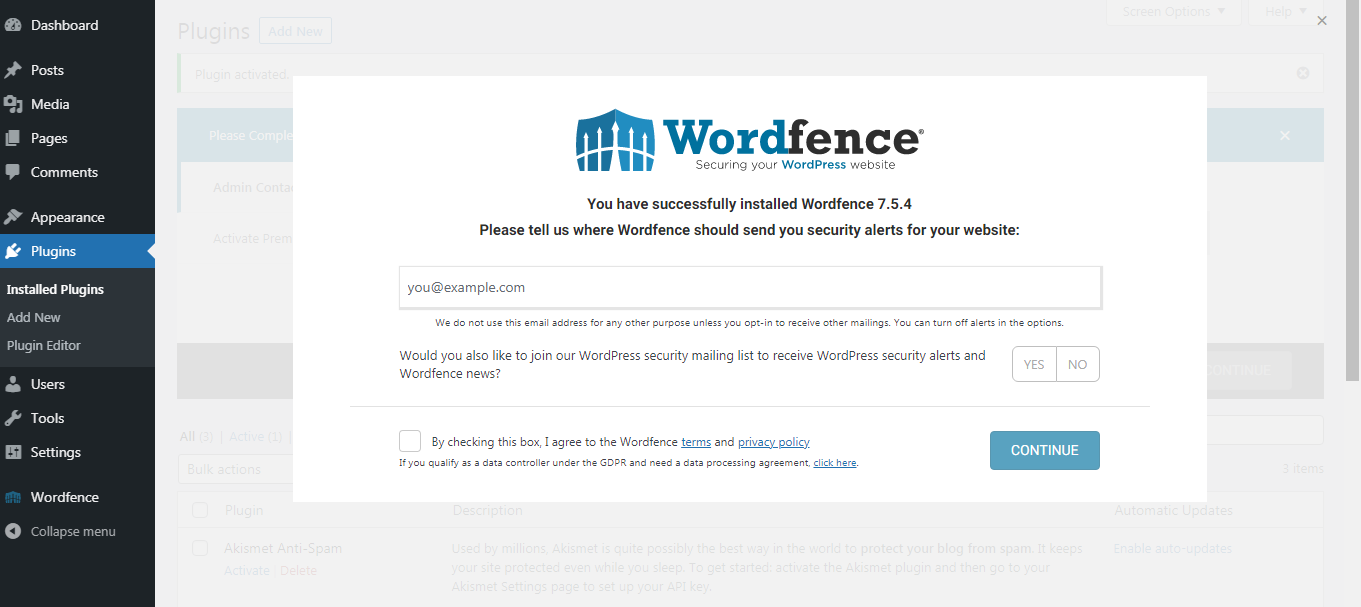
- When prompted, provide your email address and agree to their terms and conditions
- If you’ve purchased a premium key, then put it in. Otherwise, proceed with the free version
Configure
Once the plugin is installed, you need to configure it. So open the plugin from the dashboard. Here are some things you need to do:
- Enable auto updates. So Click on “Yes, enable auto-update”
- Click on the “Click here to configure” button
- Click on “Download .HTACCESS”button to optimize WordPress firewall. Then click on “Continue”
Next, you need to manage firewall. So from the left hand side options, click on “Firewall” and then “Manage Firewall.”
Here you’re going to find options to configure variety of options like brute force protection, login rules, strength of the password, etc.
You can leave them as they are since they tend to be fairly secure. But make changes are per your needs.
Running Your First Wordfence Scan
Now it’s time to run a scan using the plugin you just installed. For this, click on the “Scan” option and then “Start New Scan.”
Once the scan is complete, you can see the results at the bottom of the page. If there are malware, DNS changes, and vulnerability, it will be listed down here. You can find more about each issue by clicking on the “Details” option.
Make sure you regularly run these scans to find and fix vulnerabilities and keep hackers at bay. By upgrading to premium package will give even better protection to your WordPress website. These include spam checks and real-time IP filtering.
So that’s how you install and start using Wordfence. If you face any problems, contact the hosting provider for assistance.