Steps to change SMTP server IP address in cPanel server
If you’re job requires you to regularly send out large number of emails on a regular basis, then chances are you have come across the complication of IP blacklisting. One fine morning you find your screen reading “We notice you are on a blacklist” or something along those lines.
The quick fix to this is changing your outgoing Email IP address on your WHM / cPanel server. In this article, we’ll explain how to go about it.
Why Email IDs get blacklisted?
The main reason why email ids get blacklisted is because it is suspected by web hosting provider(s) of sending spam messages, hence ignoring it wholeheartedly and putting it in blacklist. There are two main types of blacklist:
If it is IP-based, then you need to make some changes within your cPanel server for your outgoing emails.
Steps to Change Email IP on cPanel server:
As mentioned earlier, if your blacklisting is IP-based type, then you can work on your cPanel backend and fix the issues. Here are the steps involved:

This essentially tells your Exim Configuration Manager to not use the primary IPv4 address of your account and use a different one that you’re going to define.
To define the new IP address to send out mails from, you’d need to do some command-line work. Also before changing to a new IP address, please make sure the new one isn’t already blacklisted either.
This will ensure that the SPF record of your domain specifies the new IP address otherwise this may affect acceptance by the receiver’s host.
That’s all the work required. Now you can send out emails from the IP address you have just specified.
Changing IP address doesn’t fix spam issue.
It’s worth mentioning that simply changing the IP address isn’t the fix for spamming issue. It might be something else. Therefore find and resolve the issue at the earliest, before your new IP address get blacklisted as well.
If you’re job requires you to regularly send out large number of emails on a regular basis, then chances are you have come across the complication of IP blacklisting. One fine morning you find your screen reading “We notice you are on a blacklist” or something along those lines.
The quick fix to this is changing your outgoing Email IP address on your WHM / cPanel server. In this article, we’ll explain how to go about it.
Why Email IDs get blacklisted?
The main reason why email ids get blacklisted is because it is suspected by web hosting provider(s) of sending spam messages, hence ignoring it wholeheartedly and putting it in blacklist. There are two main types of blacklist:
- Domain-based blacklist
- IP-based blacklist
If it is IP-based, then you need to make some changes within your cPanel server for your outgoing emails.
Steps to Change Email IP on cPanel server:
As mentioned earlier, if your blacklisting is IP-based type, then you can work on your cPanel backend and fix the issues. Here are the steps involved:
- Log into WHM with root-level credentials.
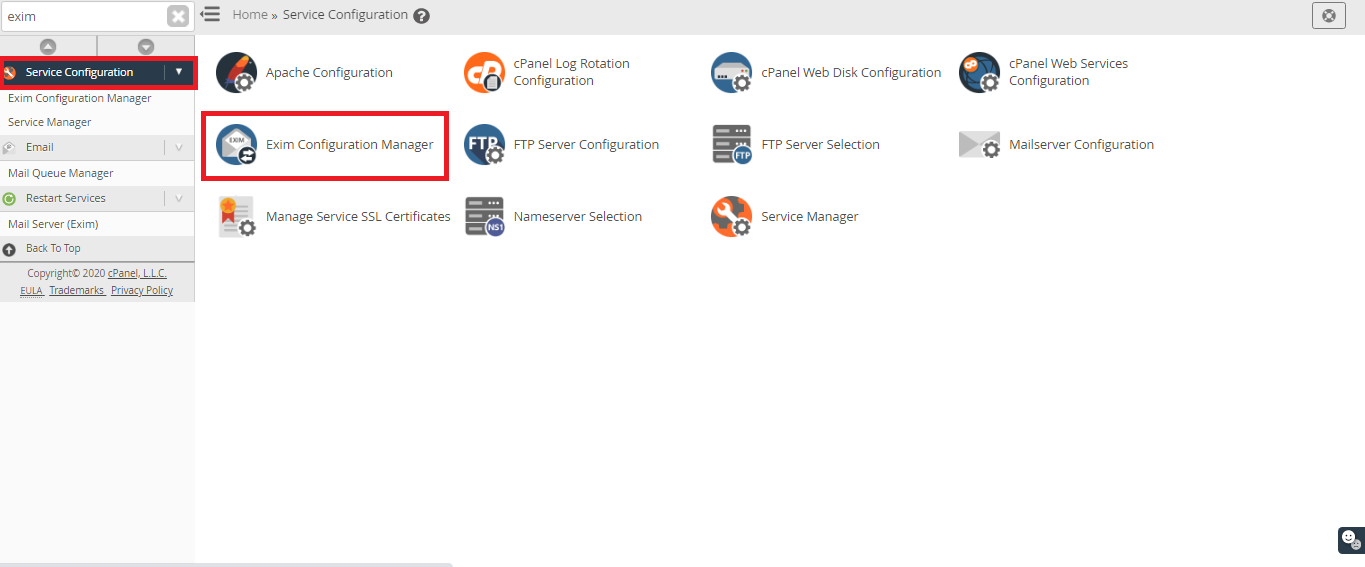
- Navigate into Exim Configuration Manager.
- Go to the “Find” field and look for “References”.
- This will take you to “Domains and IPs” section. This is the section that deals with IP addresses.
- There you will see three options. The screenshot is show below.
This essentially tells your Exim Configuration Manager to not use the primary IPv4 address of your account and use a different one that you’re going to define.
To define the new IP address to send out mails from, you’d need to do some command-line work. Also before changing to a new IP address, please make sure the new one isn’t already blacklisted either.
- Using SSH, access the server and edit the etc/mailips file. Use the following command:
Code:
[root@server ~]# nano /etc/mailips- Edit the file with *:123.456.789.111 where it should be your new IP address.
- Save the file and exit out from your exim configuration file.
Code:
v=spf1 a mx ip4:123.123.123.123 ~allThat’s all the work required. Now you can send out emails from the IP address you have just specified.
Changing IP address doesn’t fix spam issue.
It’s worth mentioning that simply changing the IP address isn’t the fix for spamming issue. It might be something else. Therefore find and resolve the issue at the earliest, before your new IP address get blacklisted as well.